Using the Camera to Identify Objects
Several methods for object identification were used throughout this project. MATLAB was used to process the images. The final method was method #3, but the descriptions of each method are shown below.
Method #1: Comparing RGB histograms

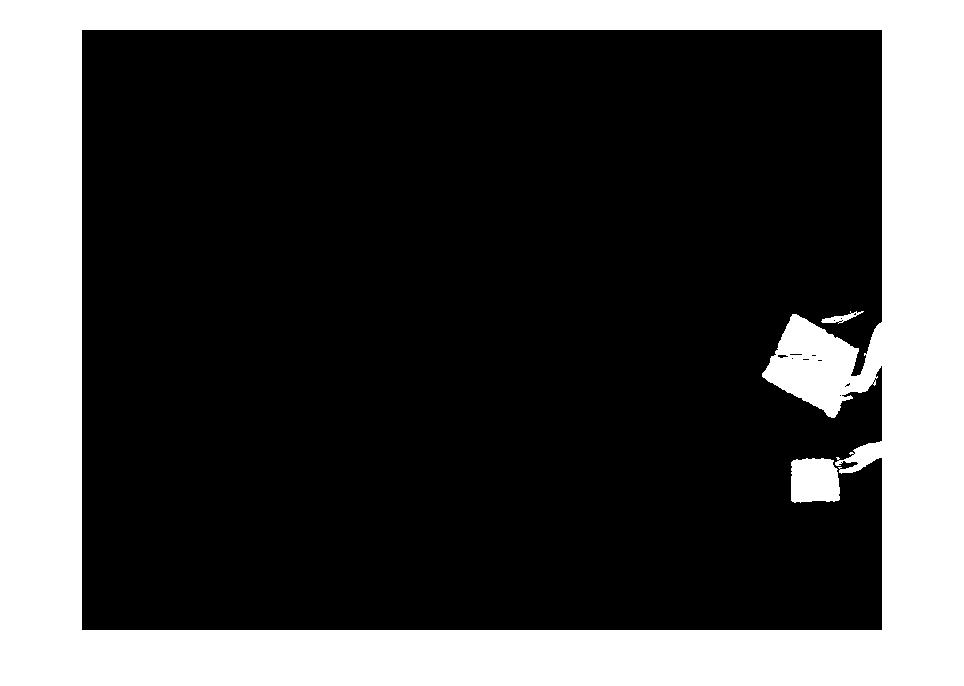
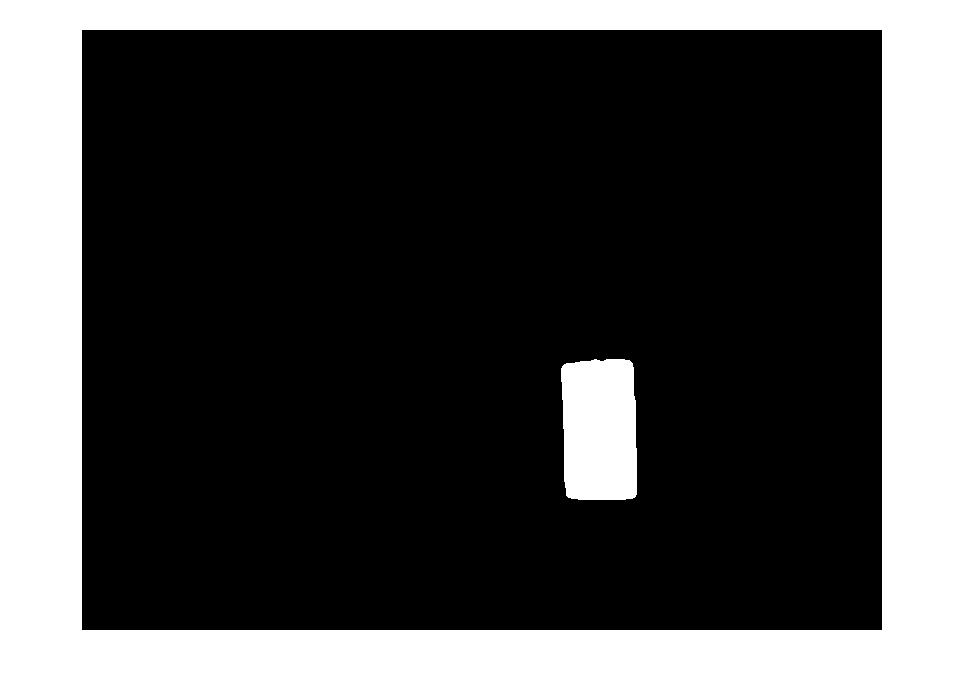
In all the methods tested for this project, the background image of the scene is first captured and saved as a "global image", and any subsequent changes in the scene are obtained by subtracting the initial image from the current image. The image to the right shows an example of this subtracted image in black and white, where a piece of red paper held by a hand has just entered the scene.
.

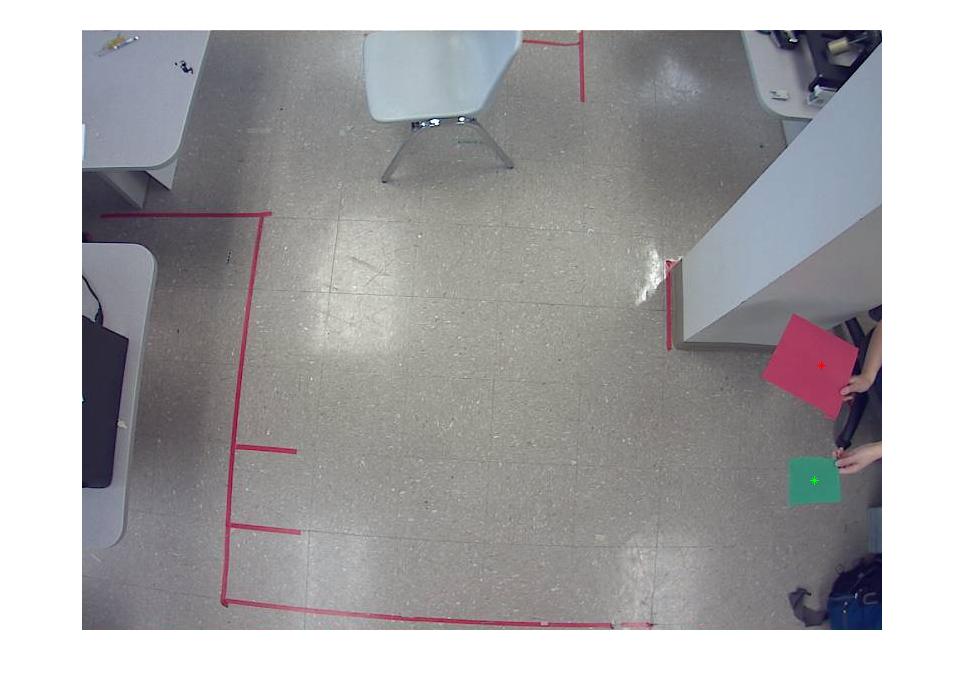
This black and white image is then used to crop the current RGB image for the red paper and hand . The image selection is then contracted a little to get at the middle of the changed object, and a 3 channel histogram is then obtained. This histogram is then compared with the histograms of the reference images. These reference images are simply RGB images of red, green, or any other color paper. The difference between the current object's histogram and all the reference images' histograms are then computed, and the minimal difference indicates the color of the object. For example, as seen in the image to the right, if the paper is colored RED, the difference from the RED reference image is the least (compared to the GREEN reference image). Therefore, this object is then tagged as red, and the centroid of this object is then displayed with a red mark (which is not very clear in this picture). It should be noted that this method can (and has) been used to detect objects moving within a scene without the need for reference images. This is done by comparing histograms of moving objects with each other.
This same process is repeated for every detected object in the scene. Below is an example using a green piece of paper instead. To the left, is the subtracted black and white image, and to the right is the green object tagged with its green centroid mark.

|

|
Because the loop runs for every object that is detected, multiple objects can be detected and tagged in one frame. However, because slight color and lighting variation can cause the program to be detect more objects in the scene than there really is (as seen in the BW image below), it was necessary to eliminate any detected objects that were less than 40 pixels each. The image below on the right show both the red and green papers tagged with their respective centroids, all in one frame.
|
|
This method seemed to work well at first, but we noticed some issues that made us consider other methods. First, because the changed object will always contain some elements of red, green, and blue, the code is very sensitive to other objects (not strictly red or green papers). For example, in the video below, it can be seen that even a hand can get tagged as a green object. Once the hand is out of the picture, however, the program can correctly recognize the green paper thrown to the floor.
Another problem is that certain colors seem to have precedence over others in the RGB space. This could be due to the lighting of the room (preferring green over red?). After the red paper is thrown next to the green paper, the program incorrectly recognized the red paper as the green paper (The red centroid remains on the screen due to the way we programed the code- in case the object gets obscured from view briefly, the program still remembers the last location of the red object).
Another problem is that certain colors seem to have precedence over others in the RGB space. This could be due to the lighting of the room (preferring green over red?). After the red paper is thrown next to the green paper, the program incorrectly recognized the red paper as the green paper (The red centroid remains on the screen due to the way we programed the code- in case the object gets obscured from view briefly, the program still remembers the last location of the red object).
These problems caused us to try other methods of object identification. The code for this method can be found here.
Method #2: Using Mutual Information
The second method we tried used the mutual information method. This method compares the mutual information of two separate images, and returns a value. The higher this value is, the more similar these 2 images are. A MATLAB code for this method was already found on the internet, and can be downloaded here.
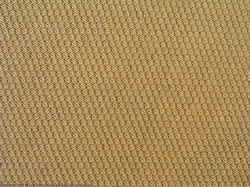
The team encountered several issues with this method. It was found that the mutual information method was more suited for texture detection, and not solid color detection. This was problematic because the mutual information index returned for objects of the same color did not differ significantly and consistently from the mutual information index returned for objects of a different color, but of the same size and texture. For the purposes of this project, only the color of the objects were manipulated, so this method was deemed inappropriate.
The team encountered several issues with this method. It was found that the mutual information method was more suited for texture detection, and not solid color detection. This was problematic because the mutual information index returned for objects of the same color did not differ significantly and consistently from the mutual information index returned for objects of a different color, but of the same size and texture. For the purposes of this project, only the color of the objects were manipulated, so this method was deemed inappropriate.
Method #3: Thresholding on color values

The method we eventually settled on for object identification was the thresholding method. This method converts the scene to the L+ab color space (Figure on left), subtracts the current image from the background image (see Figure below), then constrains the detected objects into the desired color's range (red: 0 < theta < 40, green: 100 < theta < 180). This method is favorable because we were able to neglect the luminecense of the detected objects (the L color space), making the detection more robust to different lighting situations.
.

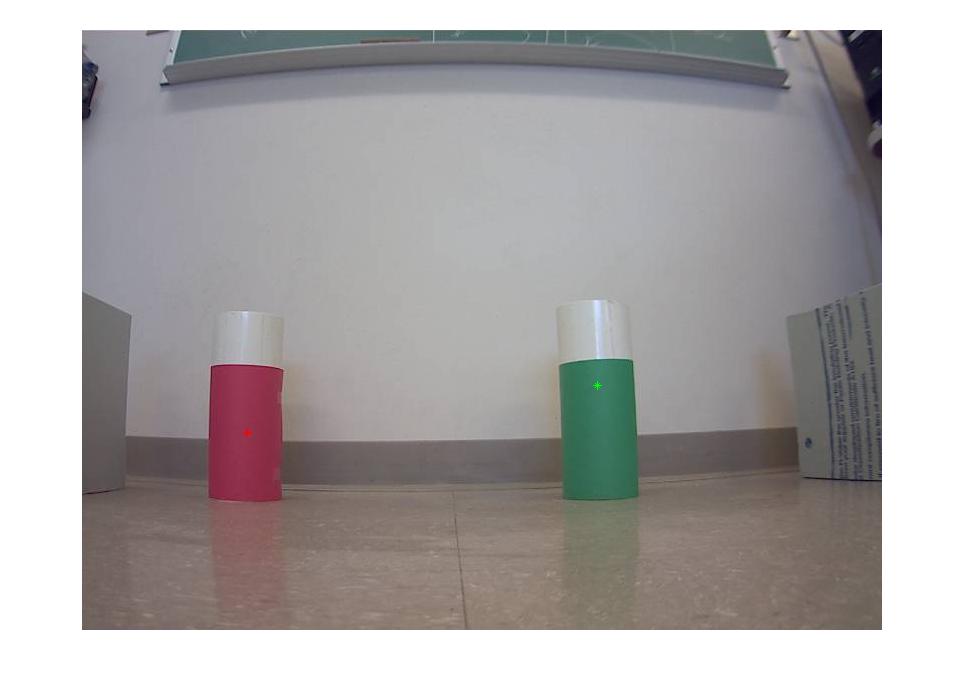
The detected objects are then identified as a red object if it passes the red threshold values, and a green object if it passes the green threshold values. The centroids of these objects are then plotted on the current picture. An example of a red and green object entering the scene is shown below.

|
|
The current image is then thresholded for red (figure on left), and for green (figure on right) separately. The result are 2 different objects, tagged with 2 different colors. The centroids of the red and green objects are then plotted on the current image.
The advantage of this method is that the red and green objects are much less likely to be confused for each other because the threshold is an absolute method (as opposed to previous methods that are more relative in nature). However, because these thresholds must be specified in advance, this method is unable to detect objects with other colors (such as blue, orange, pink, etc...) that have entered the scene, unlike method #1. However, for the purposes of this project, the colors of the objects could be prescribed, so this method was chosen for its stability and simplicity. The code for this method can be found here. The function for object detection called in the main code of this project can be downloaded here.
The advantage of this method is that the red and green objects are much less likely to be confused for each other because the threshold is an absolute method (as opposed to previous methods that are more relative in nature). However, because these thresholds must be specified in advance, this method is unable to detect objects with other colors (such as blue, orange, pink, etc...) that have entered the scene, unlike method #1. However, for the purposes of this project, the colors of the objects could be prescribed, so this method was chosen for its stability and simplicity. The code for this method can be found here. The function for object detection called in the main code of this project can be downloaded here.